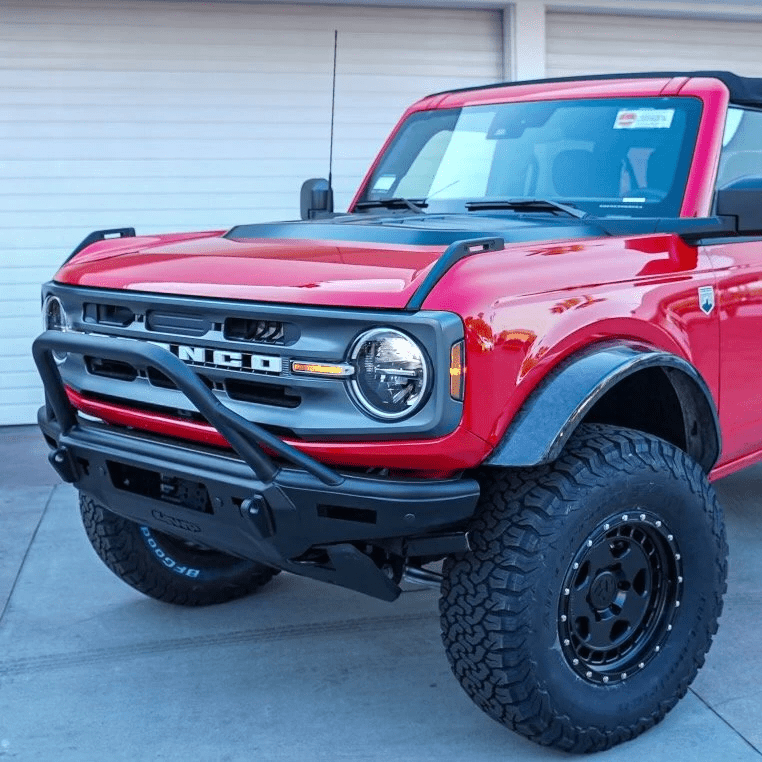
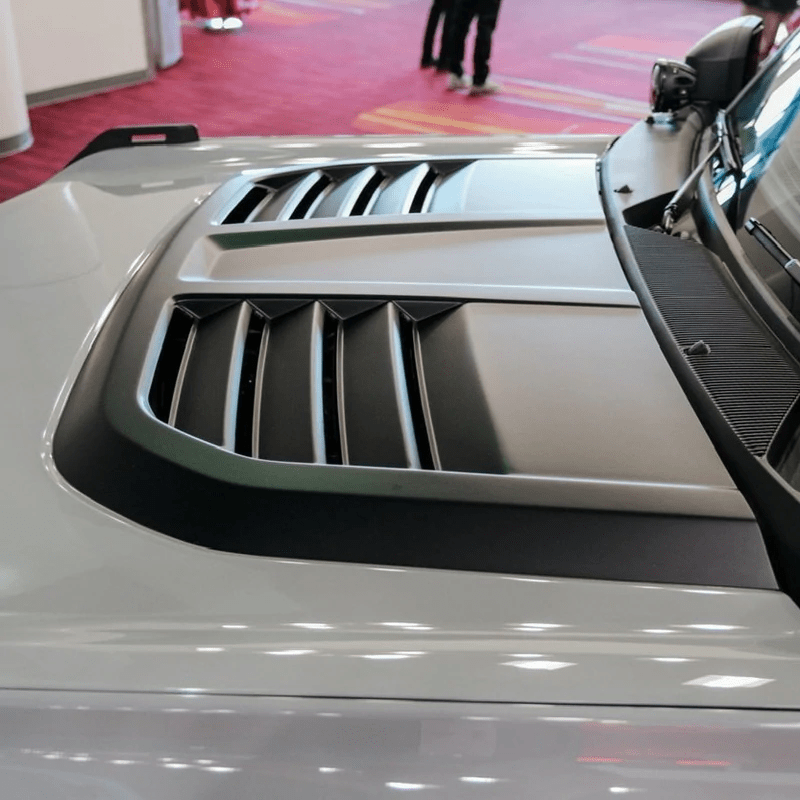
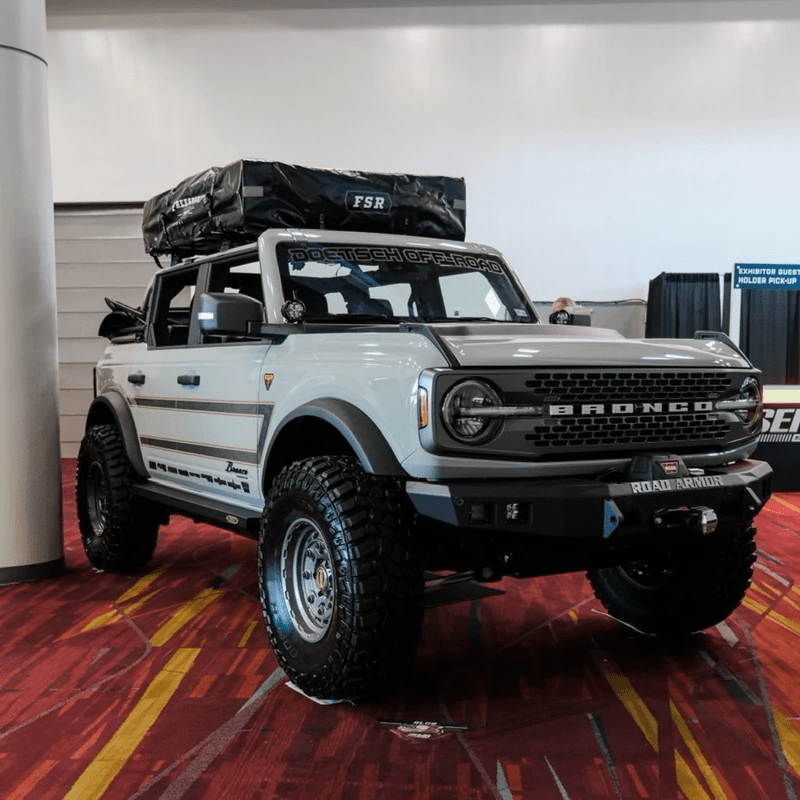
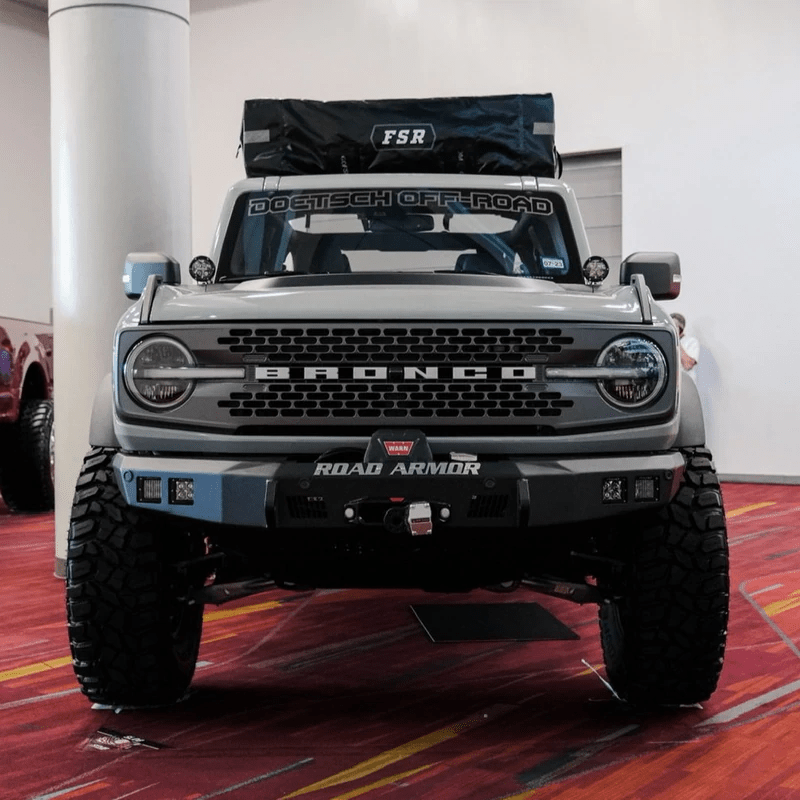
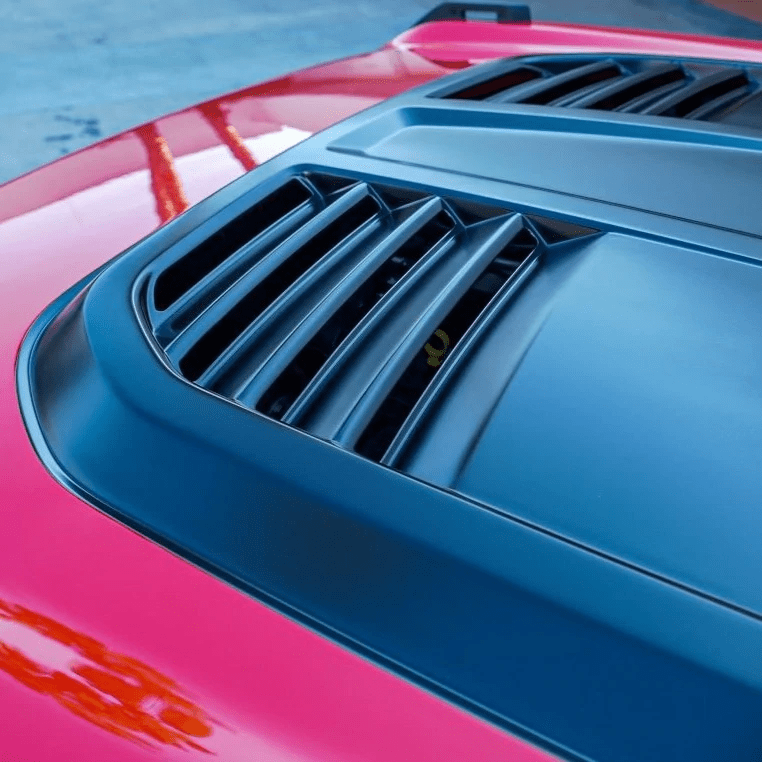
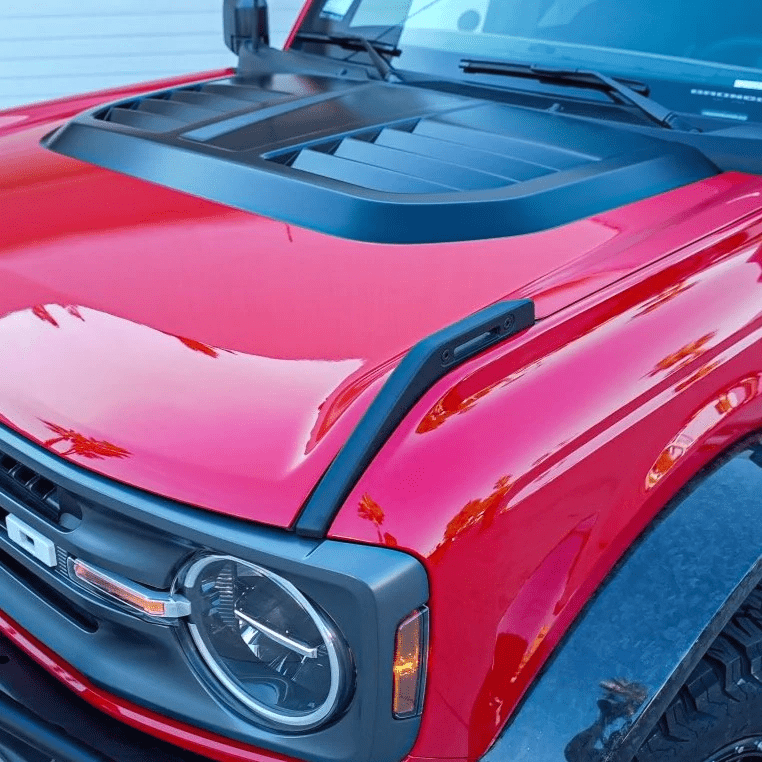
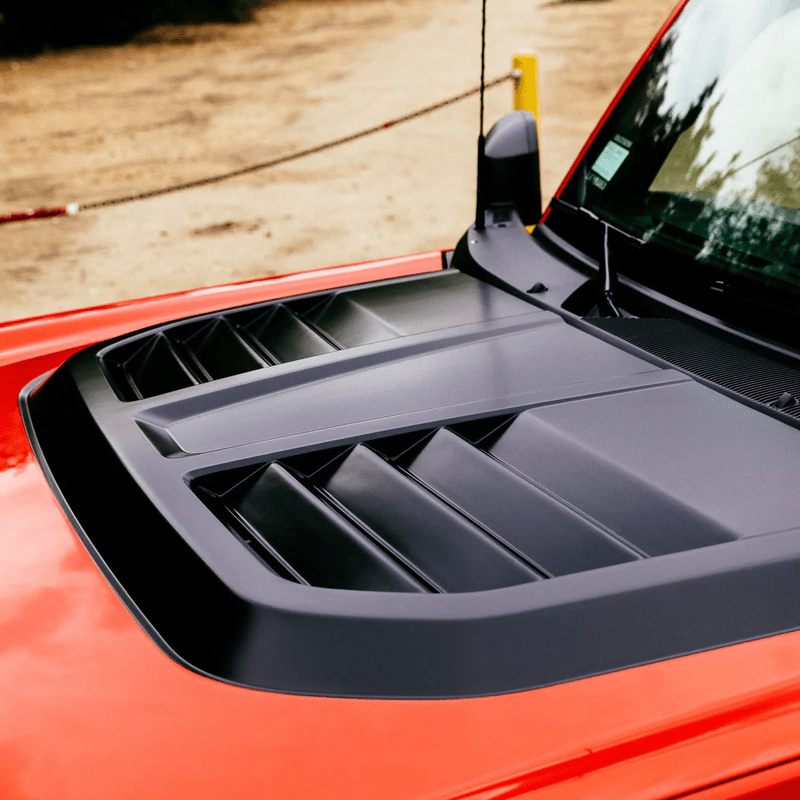
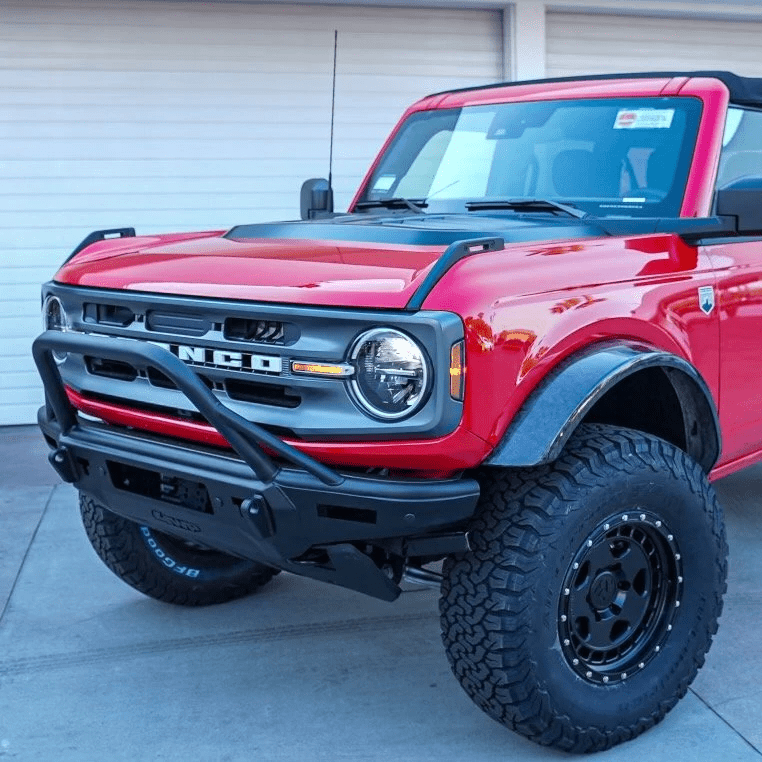
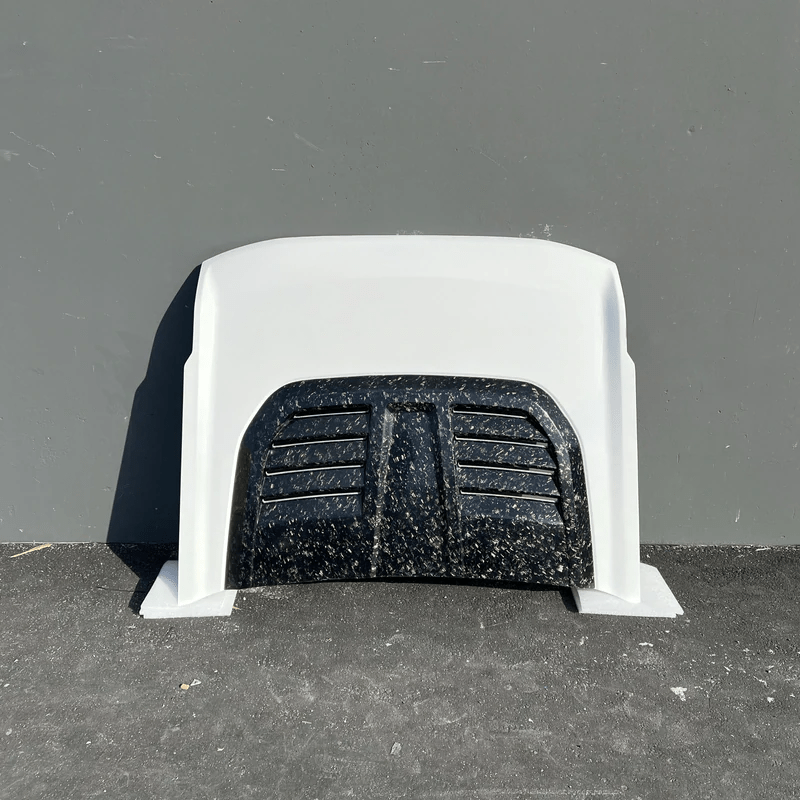
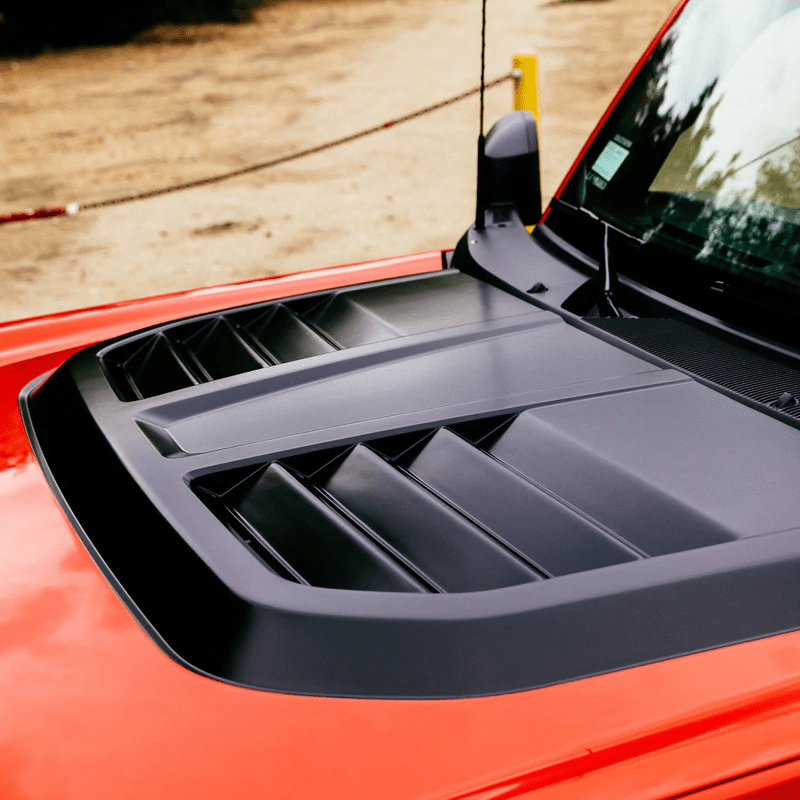
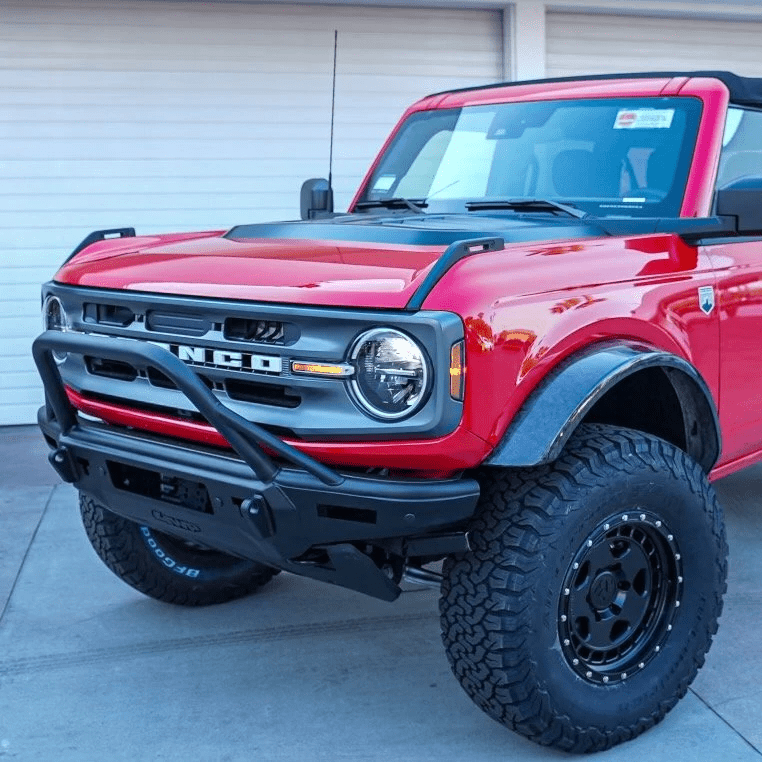
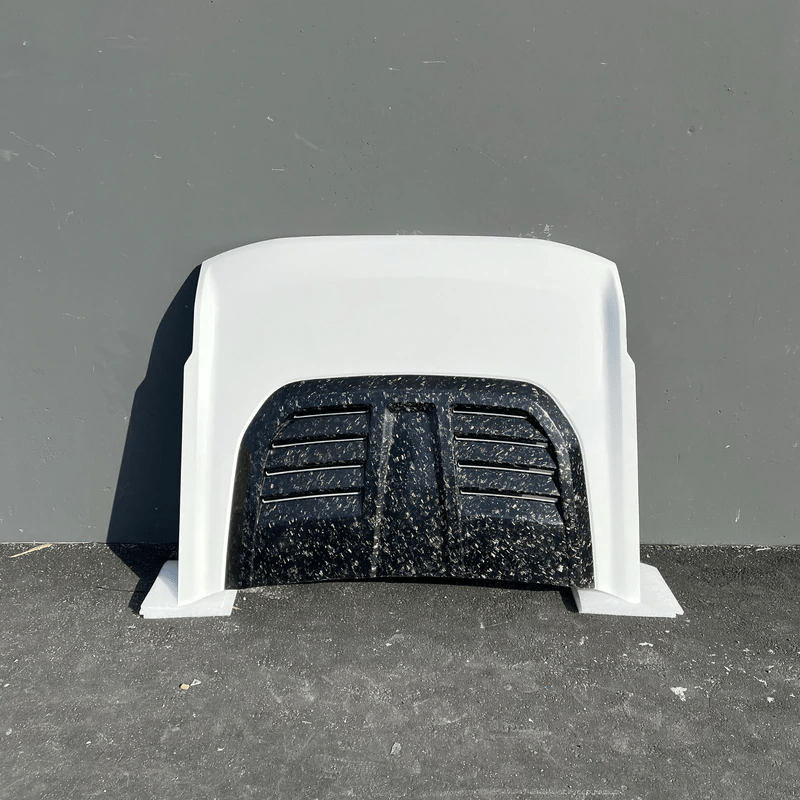
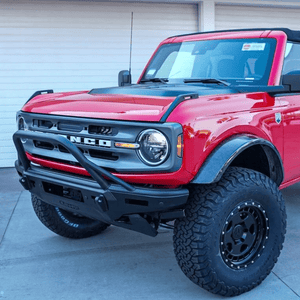
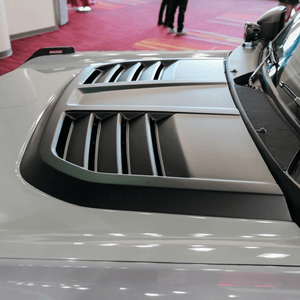
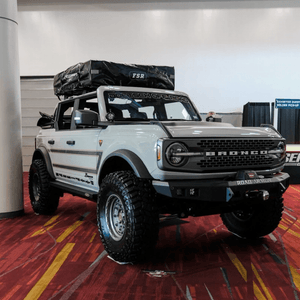
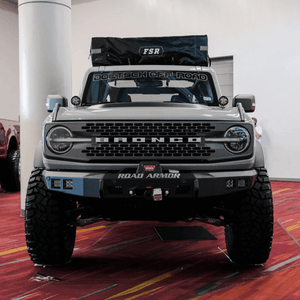
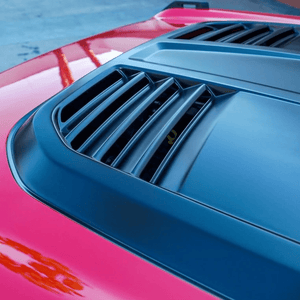
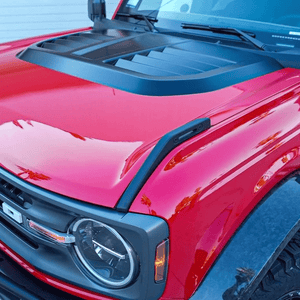
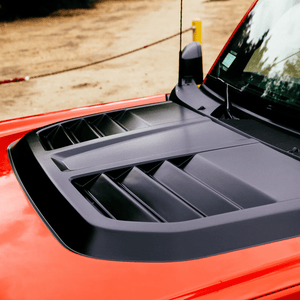
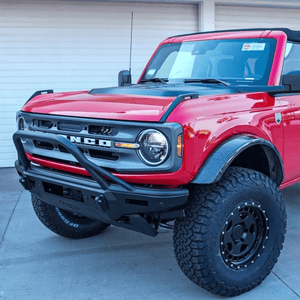
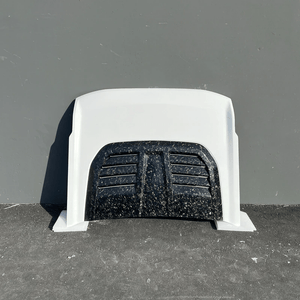
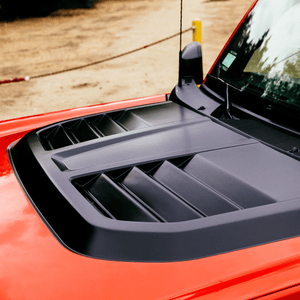
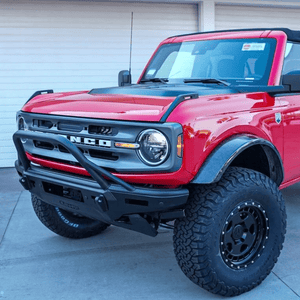
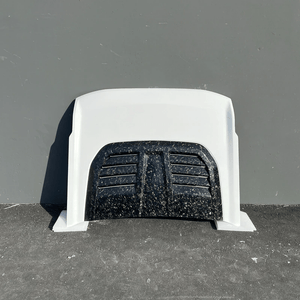
Our aftermarket Ford Hood for 2021-2022 Ford Broncos are handcrafted right here in America to ensure the kind of quality, durability, and craftsmanship you’ve come to expect from Advanced Fiberglass Concepts. Each Bronco fiberglass hood is made specifically for your model and year and designed for a seamless transition between the factory panels and our aftermarket body panels. This Bronco hood are is perfect match with our 2021 Ford Bronco Sasquatch Flares . Carbon Finish Options are in the vent section only.
- Heat-extractor hood
- Fiberglass hood is hand-laid in America to ensure quality
- Molded specifically to replace Sierra hood
- Designed to be long-lasting even during the toughest rides and climates
- Made in the USA
- Comes standard in semi-gloss white
- Part Number: AFC 178 (Fiberglass), AFC 178-CFV (Carbon Fiber Vents), + AFC 178-FCFV (Forged Carbon Fiber Vents)
INSTALLATION INSTRUCTIONS - Hood
All of our products are fairly easy to install. You will need a few hand tools and a few hours of time, depending on the products you have purchased. Advanced Fiberglass Concepts LLC does recommend that a professional install for a seamless fit install these products.
Tools required for most install:
Socket set
Step 1: Open stock hood and remove bolts holding the hood down.
Step 2: Remove stock hood from vehicle.
Step 3: Test fit our aftermarket hood by resting it on the hinge plates. Align it on each side to have appropriate lines. Keep in mind that the hood will sit high if it is not bolted down.
Step 4: Open the hood, tighten the bolts on the hinge plates to fasten the hood down and close the hood.
Step 5: After closing the hood, it may require to be adjusted to get appropriate lines. Start by opening the hood to loosen the back hinge plate bolts and close the hood. Pull the hood in the direction you would like (To help make the body lines consistent from driver to passenger side). Slightly open the hood (Make sure to not move it otherwise you will need to restart this step) and tighten the back hinge plate bolts (using the factory nuts)
Step 6: Repeat step 5 for the front latch with M6 bolts to tighten the hood in place.
You will need to be patient to get a good fit. If the hood sits too low or too high in the front, you can adjust it by turning up or down the rubber height adjuster at the front of the hood located in the core support, or hood. If you need to adjust the back of the hood then loosen the three bolts that are holding the hinge plate to the chassis and push the hinge plate mechanism down and tighten the bolts. This will pull the back of the hood down to align with the fenders.
These instructions are useful for all hoods sold by Advanced Fiberglass Concepts.—therefore some of the steps may not be needed or should be slightly altered to suit your particular vehicle and product needs.
Thank you for purchasing our product(s). We hope you are satisfied with the final result.


